
Surya Namaskar, or Sun Salutation, is a series of yoga poses performed in a sequence. It is one of the most effective ways to keep the body active, flexible, and healthy. This practice connects movement with breath, creating a balance between the body and mind. Let’s explore the steps and benefits of Surya Namaskar in detail.
What is Surya Namaskar?
Surya Namaskar consists of 12 yoga postures performed in a continuous flow. The name comes from Sanskrit, where ‘Surya’ means ‘Sun’ and ‘Namaskar’ means ‘Salutation.’ This practice is not only a physical exercise but also a way to express gratitude to the Sun, which is the source of life on Earth.
Benefits of Surya Namaskar
Practicing Surya Namaskar daily can:
- Strengthen muscles and joints
- Improve blood circulation
- Boost metabolism and digestion
- Reduce stress and anxiety
- Enhance flexibility and posture
- Help in weight management
12 Steps of Surya Namaskar
Each round of Surya Namaskar consists of 12 poses. Here’s a step-by-step guide:
Step 1: Prayer Pose (Pranamasana)

- Stand straight with feet together.
- Join hands in a Namaste position at the chest.
- Maintain a straight spine and breathe deeply.
Step 2: Raised Arms Pose (Hasta Uttanasana)
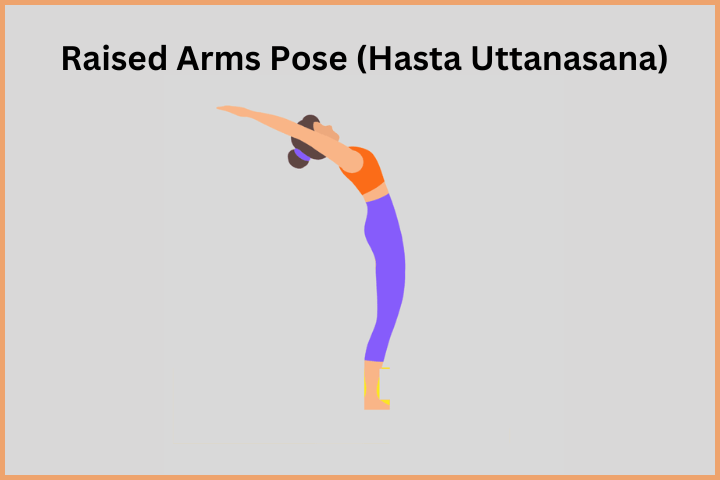
- Inhale and raise your arms above your head.
- Slightly arch your back and stretch backward.
- Keep your biceps close to your ears.
Step 3: Standing Forward Bend (Pada Hastasana)
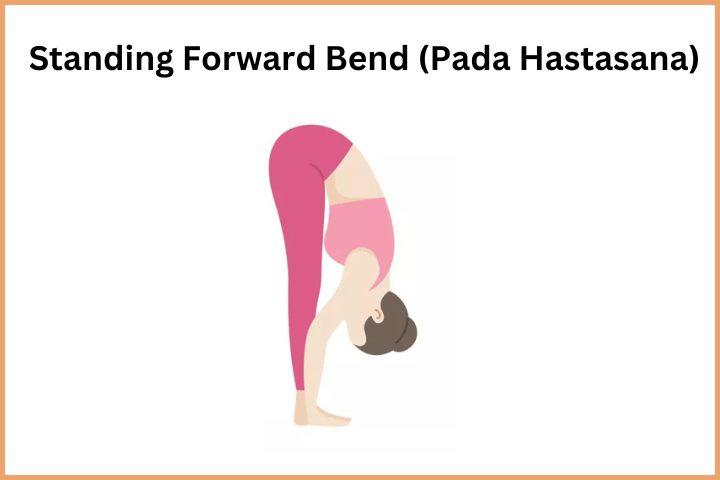
- Exhale and bend forward from the waist.
- Try to touch your toes with your hands.
- Keep your knees straight if possible.
Step 4: Low Lunge Pose (Ashwa Sanchalanasana)
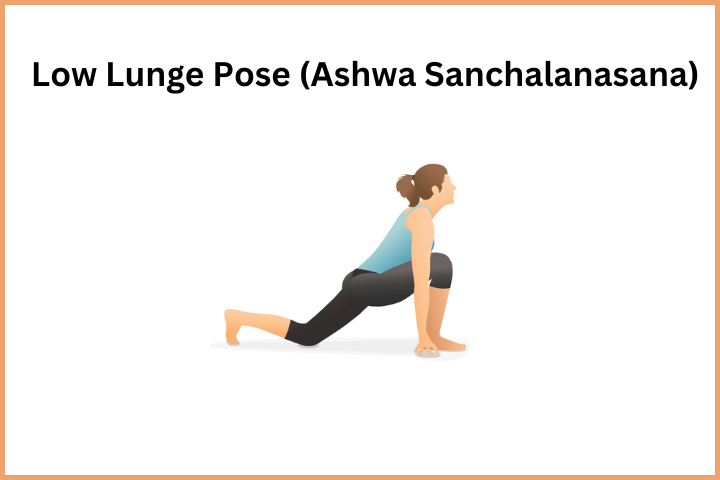
- Inhale and take your right leg back.
- Maintain a 90-degree bend in your left knee.
- Look up and stretch your back.
Step 5: Plank Pose (Dandasana)

- Take your left leg back to align with the right leg.
- Keep your arms straight and maintain a straight-line posture.
- Engage your core muscles.
Step 6: Eight-Limbed Pose (Ashtanga Namaskara)
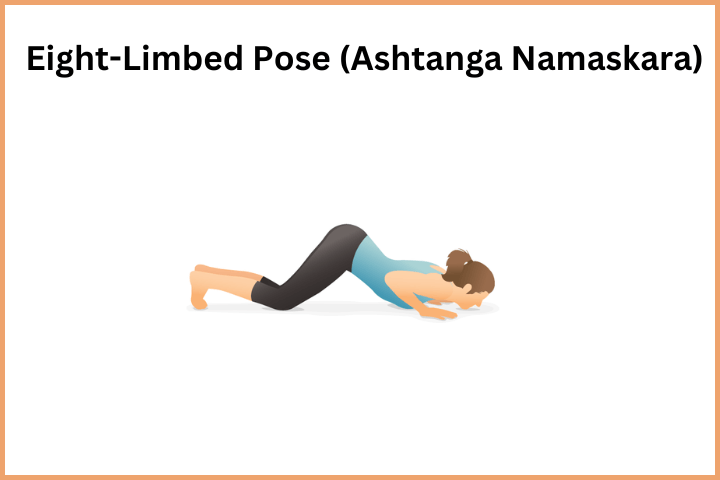
- Breathe out and gently bring your knees, chest, and chin to the floor.
- Keep your hips slightly raised.
- Your hands, feet, chest, and chin should touch the floor.
Step 7: Cobra Pose (Bhujangasana)
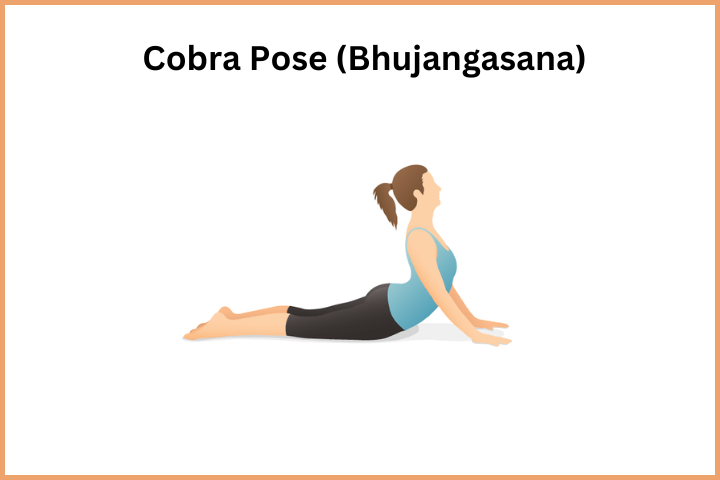
- Breathe in and raise your chest, keeping your hands firmly on the ground.
- Slightly arch your back and look up.
- Keep your elbows slightly bent.
Step 8: Downward Facing Dog (Parvatasana)
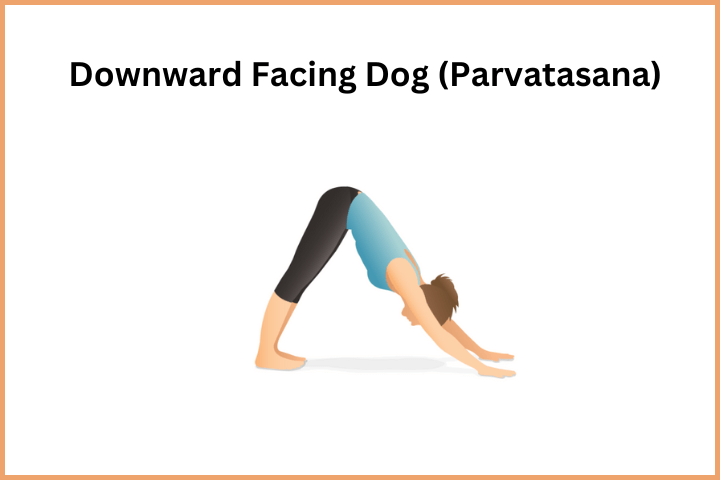
- Exhale and lift your hips up, forming an inverted ‘V’ shape.
- Keep your heels on the ground and stretch your spine.
Step 9: Low Lunge Pose (Ashwa Sanchalanasana)
- Inhale and bring your right foot forward.
- Keep your left leg extended back.
- Look up and stretch your back.
Step 10: Standing Forward Bend (Pada Hastasana)
- Exhale and bring your left foot forward.
- Bend at the waist and extend your hands toward your toes.
Step 11: Raised Arms Pose (Hasta Uttanasana)
- Inhale and stretch your arms upward.
- Slightly bend backward and look up.
Step 12: Prayer Pose (Pranamasana)
- Exhale and return to the starting position.
- Join your hands in Namaste.
This completes one round. Repeat the sequence with the left leg in step 4 to complete a full cycle.
How Many Rounds Should You Do?
- Beginners: Start with 3-5 rounds.
- For flexibility: 5-7 rounds.
- For weight loss: 8-12 rounds.
- Advanced practice: 12+ rounds.
Best Time to Practice
- Early morning on an empty stomach is ideal.
- Face the rising sun for maximum benefits.
- If practicing in the evening, allow a gap of 3-4 hours after meals.
Precautions and Contraindications
- Avoid Surya Namaskar if you have high blood pressure, heart issues, or spinal disorders.
- Expecting mothers should seek medical advice before practicing.
- Skip or modify poses during menstruation if needed.
- People with back pain should perform it under expert guidance.
Final Thoughts
Surya Namaskar is a complete workout that benefits both body and mind. Regular practice improves flexibility, boosts energy, and promotes overall well-being. Start your day with this simple yet powerful yoga sequence and feel the transformation in your health and mindset.